|
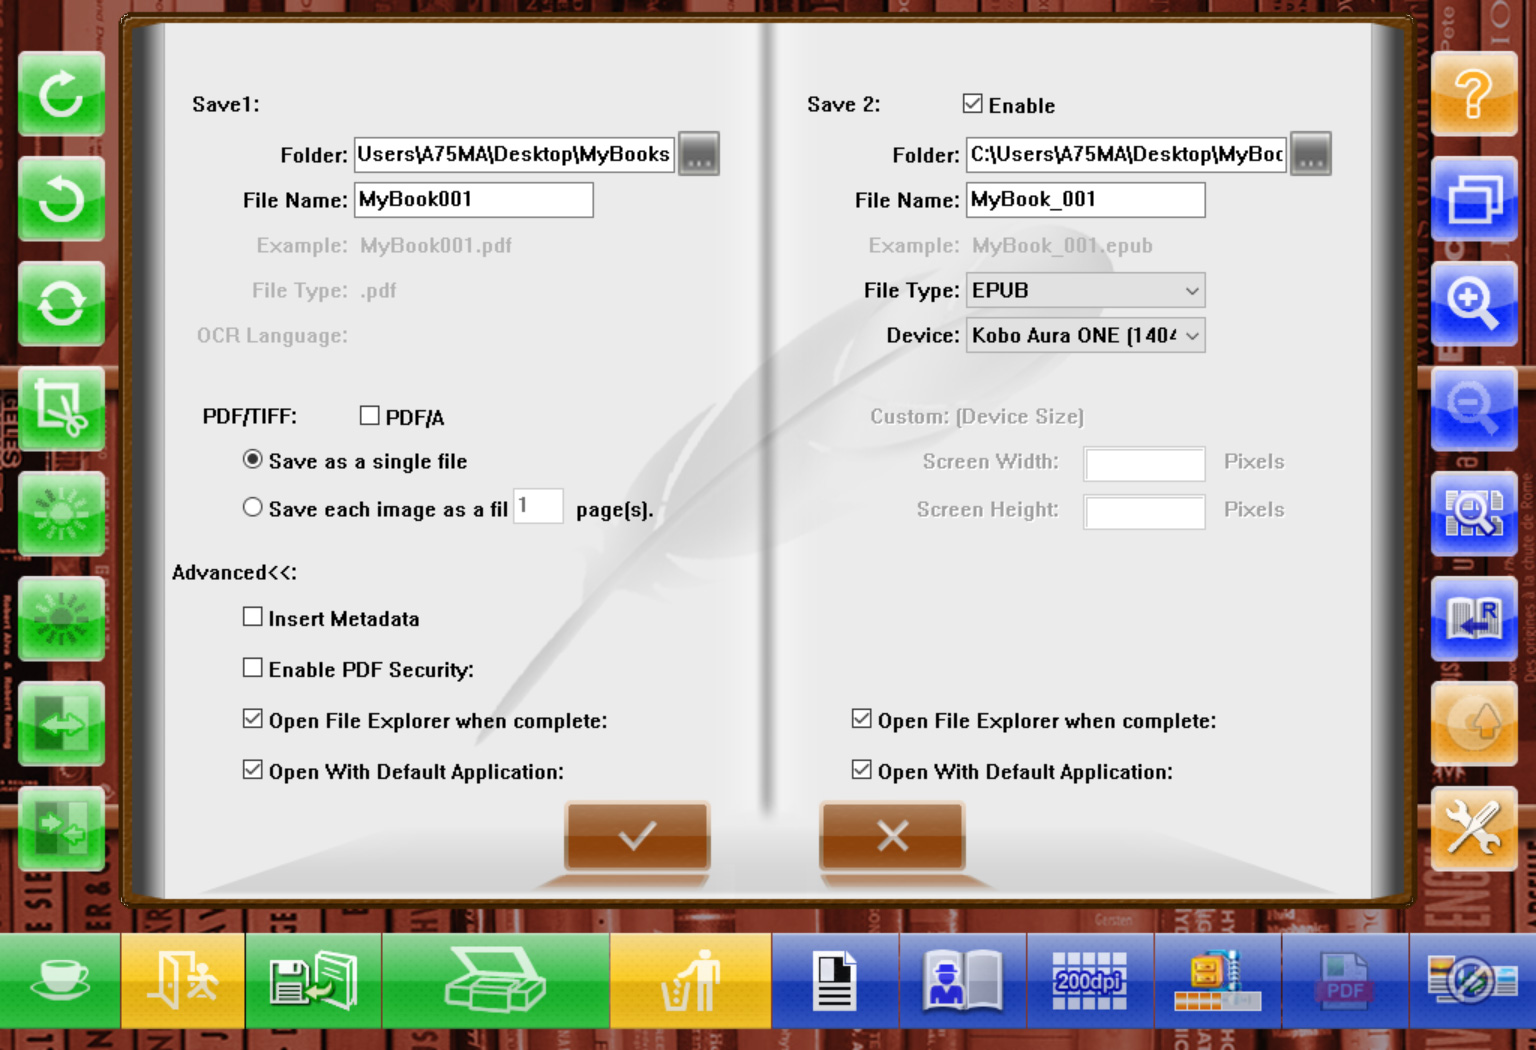
Configuring the Save dialog
|


|
| Press the Save |
|
|
|
|
|
| Folder
|
| Type the folder path to save your file(s) or press the Browse |
|
|
| File Name
|
| Type a file name to save your file(s). If you choose to generate multiple files, the file name will be used as a prefix instead with an ascending number used as the suffix.
|
|
|
| Example
|
| Shows you how the file name will look like. It is non-editable.
|
|
|
| File Format
|
| Select the file type to use. It is non-editable for Save 1.
|
|
|
| OCR Language
|
| Select the language to use for optical character recognition. It is non-editable for Save 1.
|
|
|
| PDF and TIFF file formats
|
| Tick the checkbox of PDF/A to convert the PDF file format to PDF/A file format for long-term preservation of electronic documents.
|
|
|
| The PDF and TIFF file formats have one additional exclusive option available:
|
|
|
| · | Generate one file for all pages: The PDF and TIFF file formats support multiple pages within one file, so select this option if you only want to create one file that contains all your scanned images.
|
|
|
| · | Generate one file every X page(s): Select this option if you want to create a separate file for every X number of pages. This is the default for the JPG file format and cannot be changed because it does not support multiple pages within one file.
|
|
|
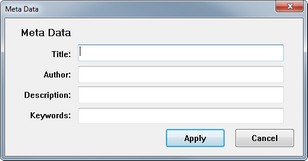
| Insert Meta Data
|
| All file formats support the addition of meta data. Press on Insert Meta Data to open the Meta Data dialog. You can add a Title, the Author, a Description, and Keywords to the output file.
|
|
|
|
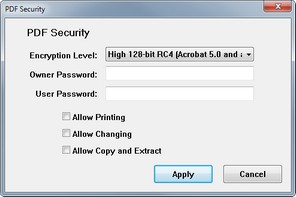
| Enable PDF Security
|
| Only the PDF and Searchable PDF file formats support this additional feature. Press on Enable PDF Security to open the PDF Security dialog.
|
|
|
|
| · | Encryption Level: Choose the encryption level to use for the output file(s). Available options are High 128-bit RC4 and Low 40-bit RC4. Please note that file(s) with a higher encryption level generally require a higher/newer version of a reader application to view.
|
|
|
| · | Owner Password: Set an owner password for the output file(s). If you set an owner password, anyone who wishes to view the file(s) will be required to enter it. Please note that this does not give you any permissions other than viewing the file(s) if you set a user password below.
|
|
|
| · | User Password: Set a user password for the output file(s). If you set a user password, all permissions other than viewing the file(s) will be disabled by default. You can restore the disabled features by activating the check boxes below or by removing the file(s)' security function from within the file(s).
|
|
|
| · | Allow Printing: Has to be used with the user password function. Allow users to print the contents of the output file(s).
|
|
|
| · | Allow Changing: Has to be used with the user password function. Allow users to change the contents of the output file(s).
|
|
|
| · | Allow Copy and Extract: Has to be used with the user password function. Allow users to copy and extract the contents of the output file(s).
|