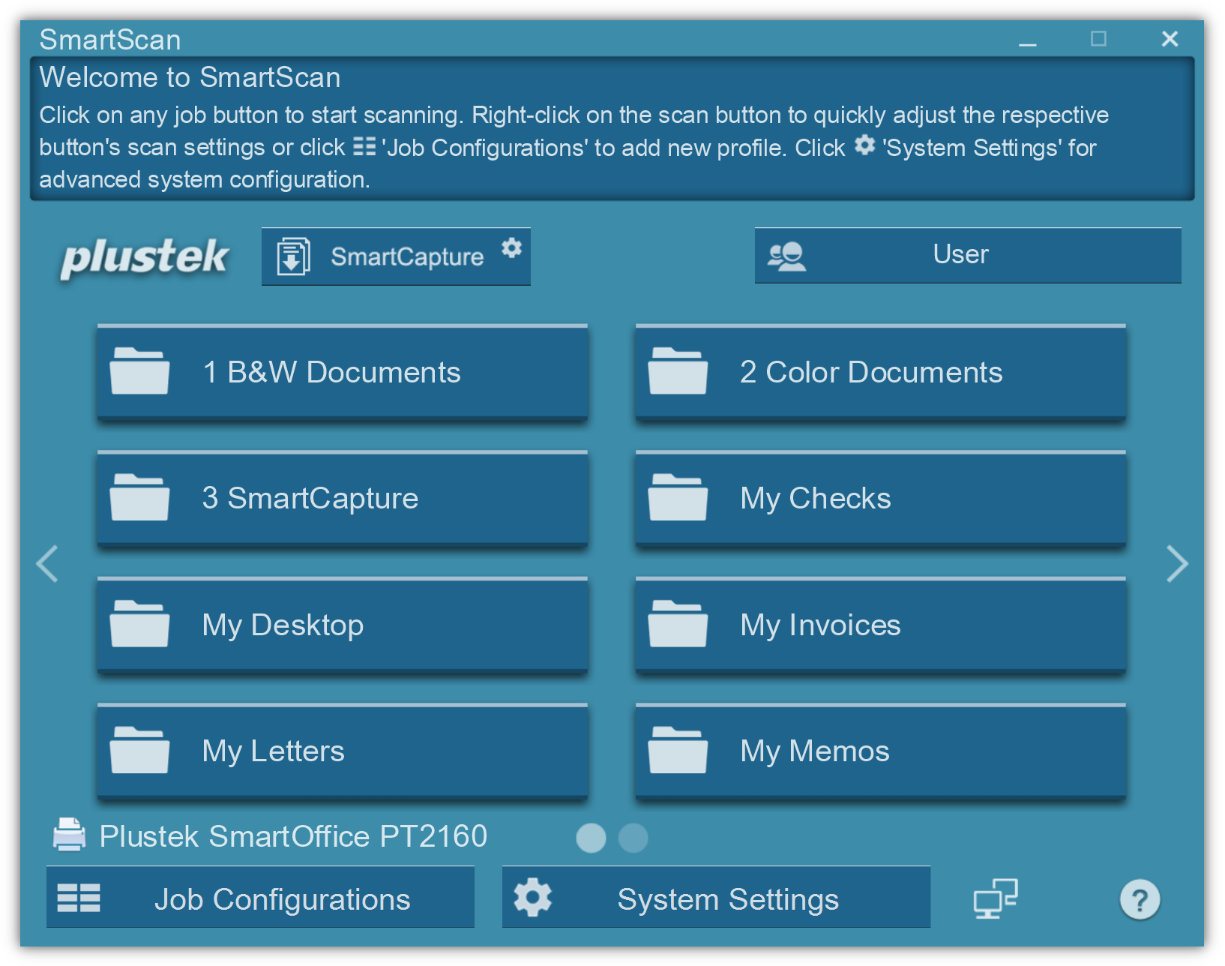
Scanning Documents- Click on any of the job button on the main menu to start scanning. If the respective job button have any 'Selectable' scan settings selected, the relevant interface will display on the panel for user to modify or make adjustments. Click on Next > to continue to the next step.
During Preview and Edit interface
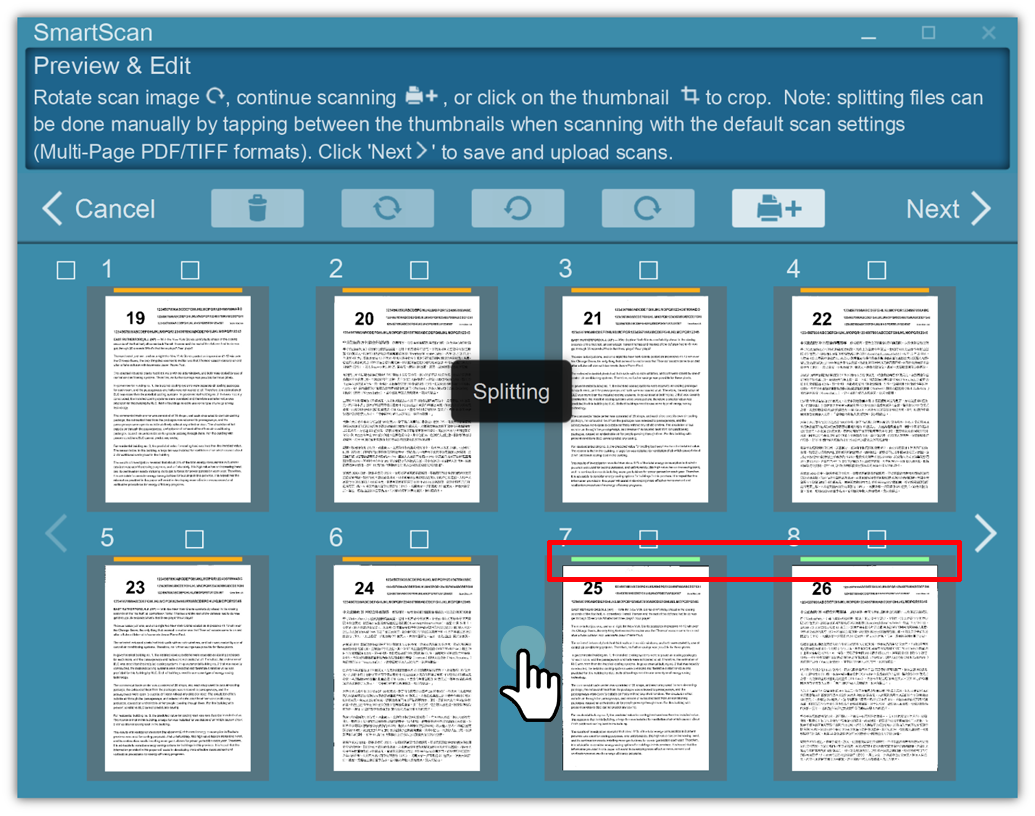
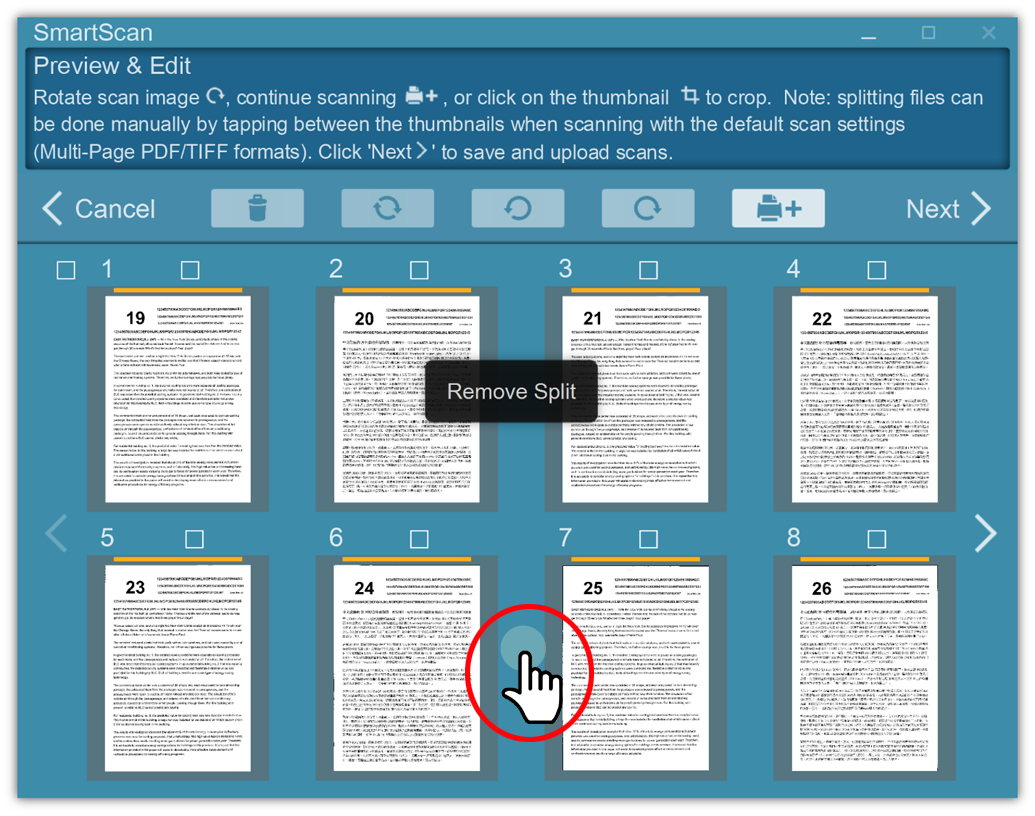
When preview is enabled, scanned image will be displayed on screen in thumbnails.
|
Rotate scan image by 180° |
|
Rotate scan image by 90° to the right |
|
Rotate scan image by 90° to the left |
|
Click to continue scanning |


|
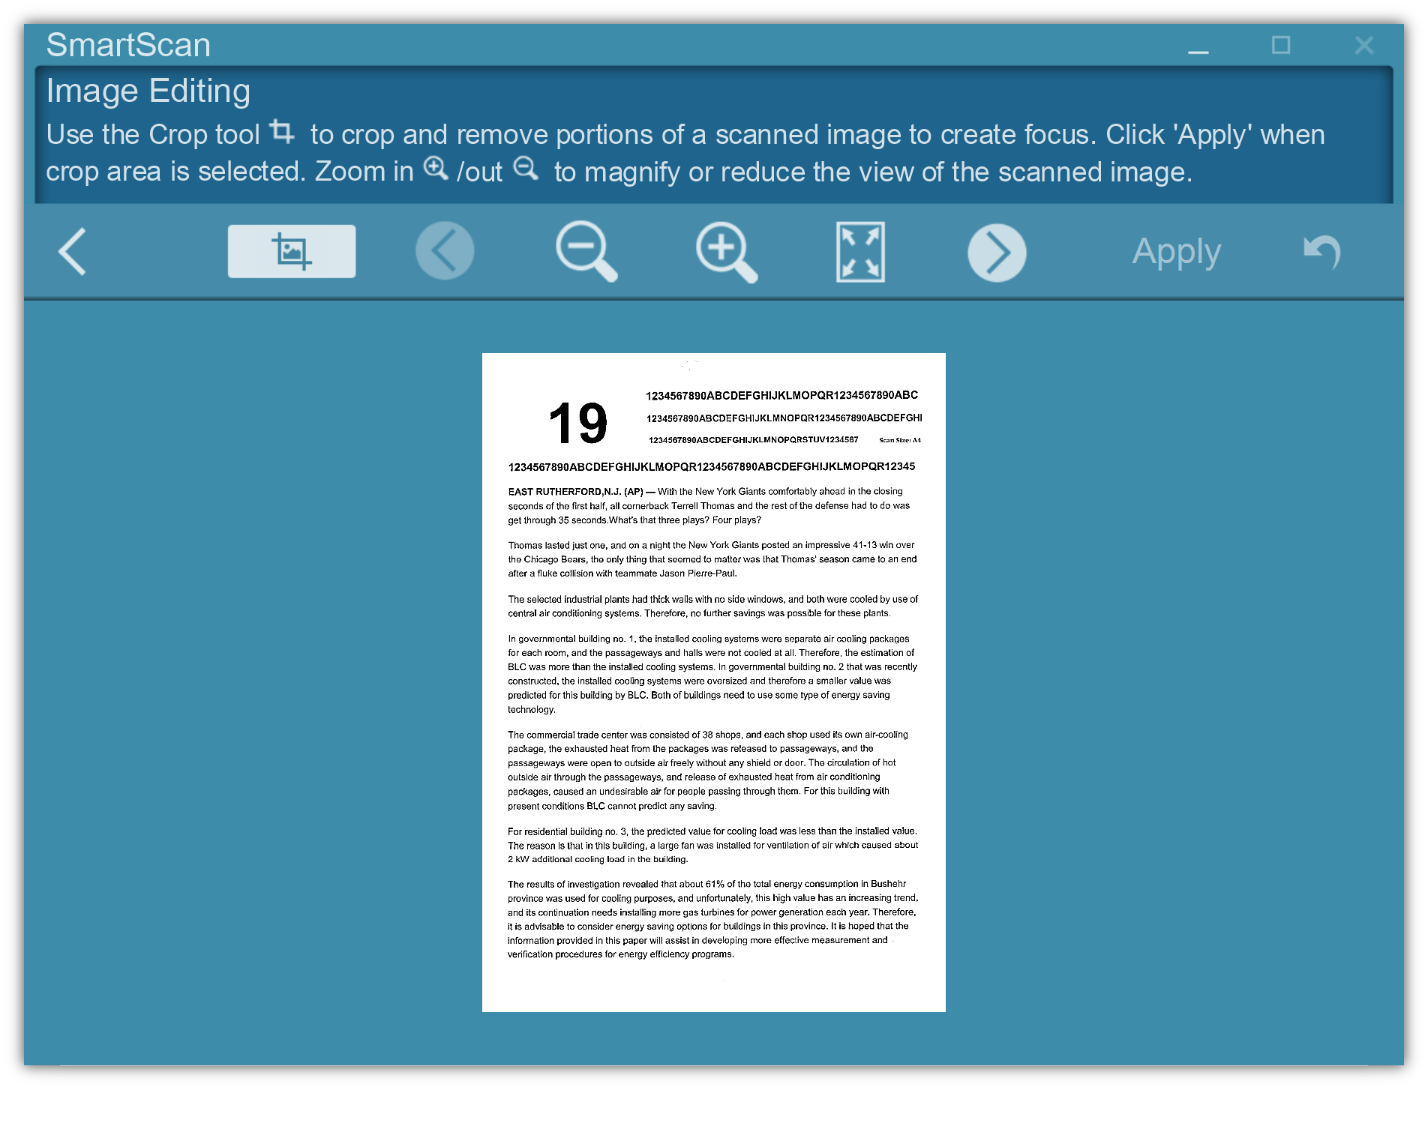
Click on the thumbnail image to crop |

Click on the thumbnail to zoom in/out and crop.
When scanning in multiple PDFs or TIFF files, separating can be done manually. A small color bar will appear on the top of the scan, simply click between the two images, to separate into a different file, for about a second, the color bar will change color, indicating separation is complete. To remove, simply click the area again.
Manual Splitting Documents |
Manual Remove Splitting |
|
|
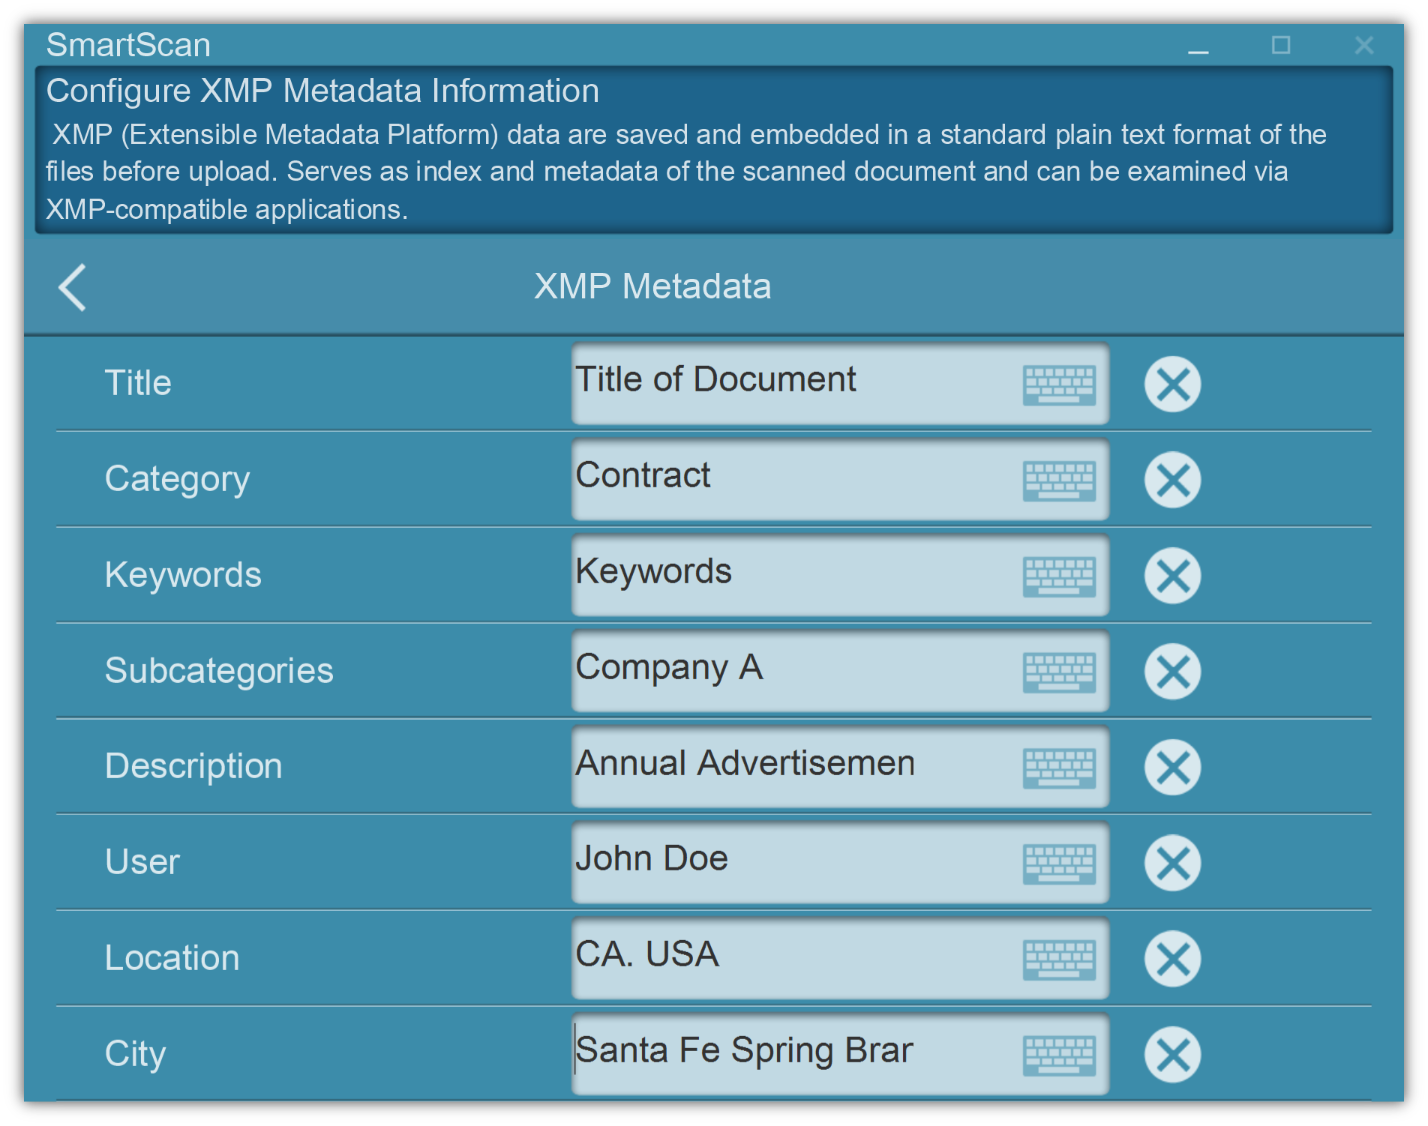
After editing, Click on Next > to continue. You maybe prompt to enter information such as the database, archive folders, index, and metadata (xmp metadata) you wish to upload to, if it was made as 'Selectable' during configuration.
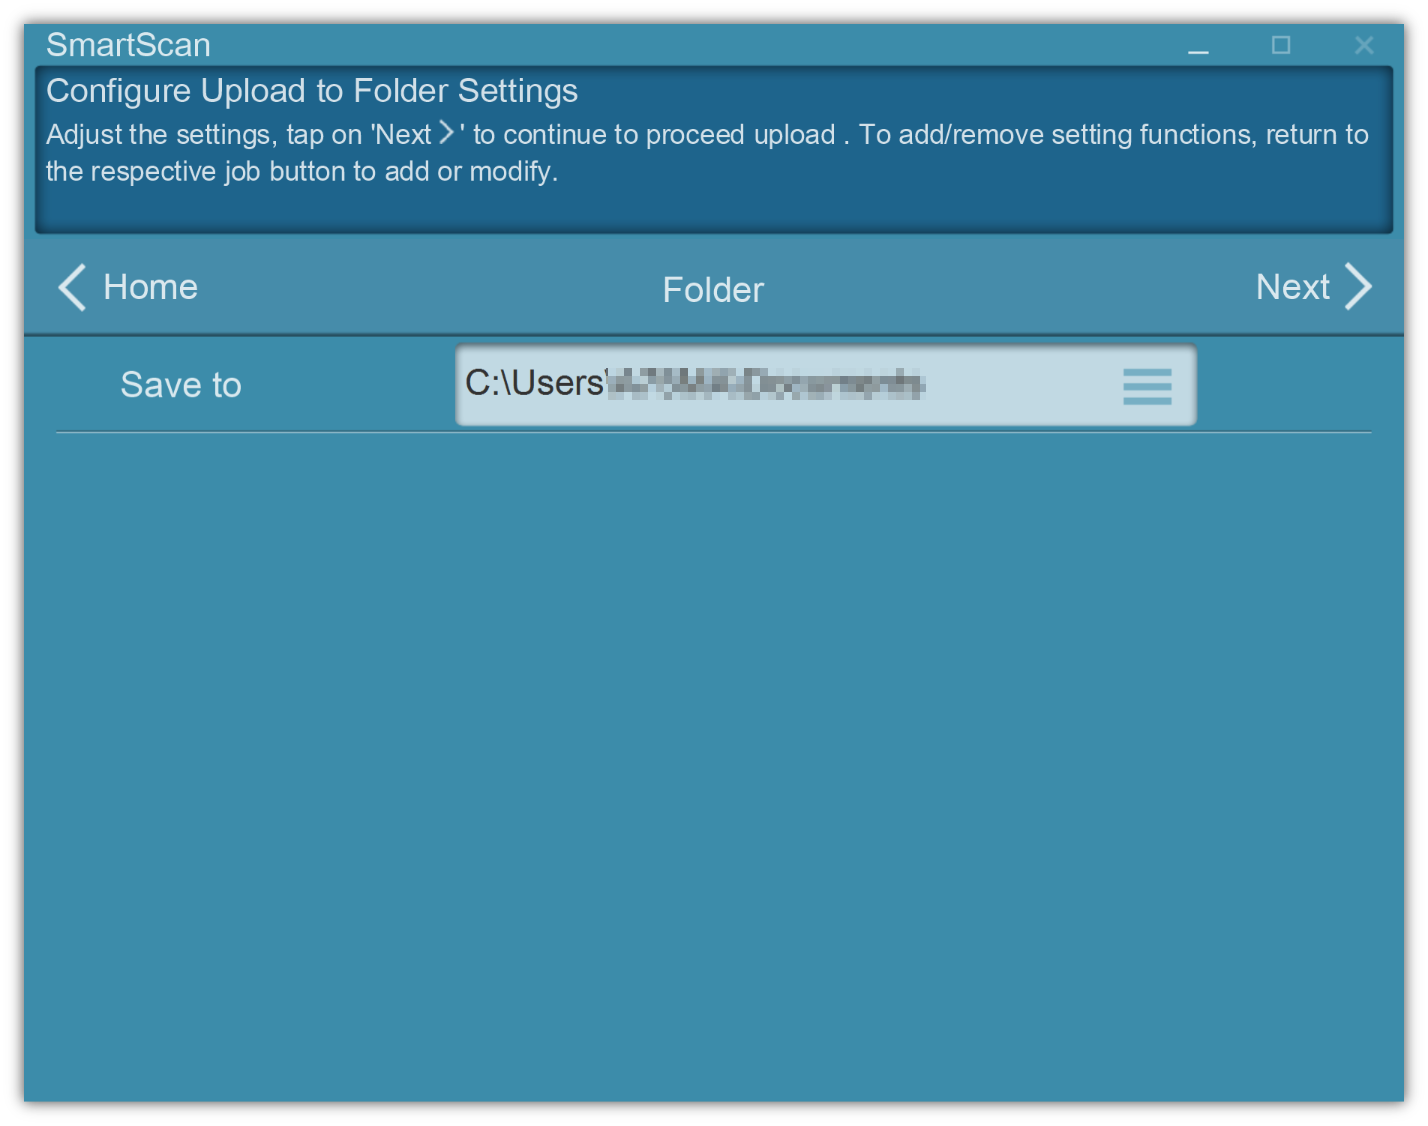
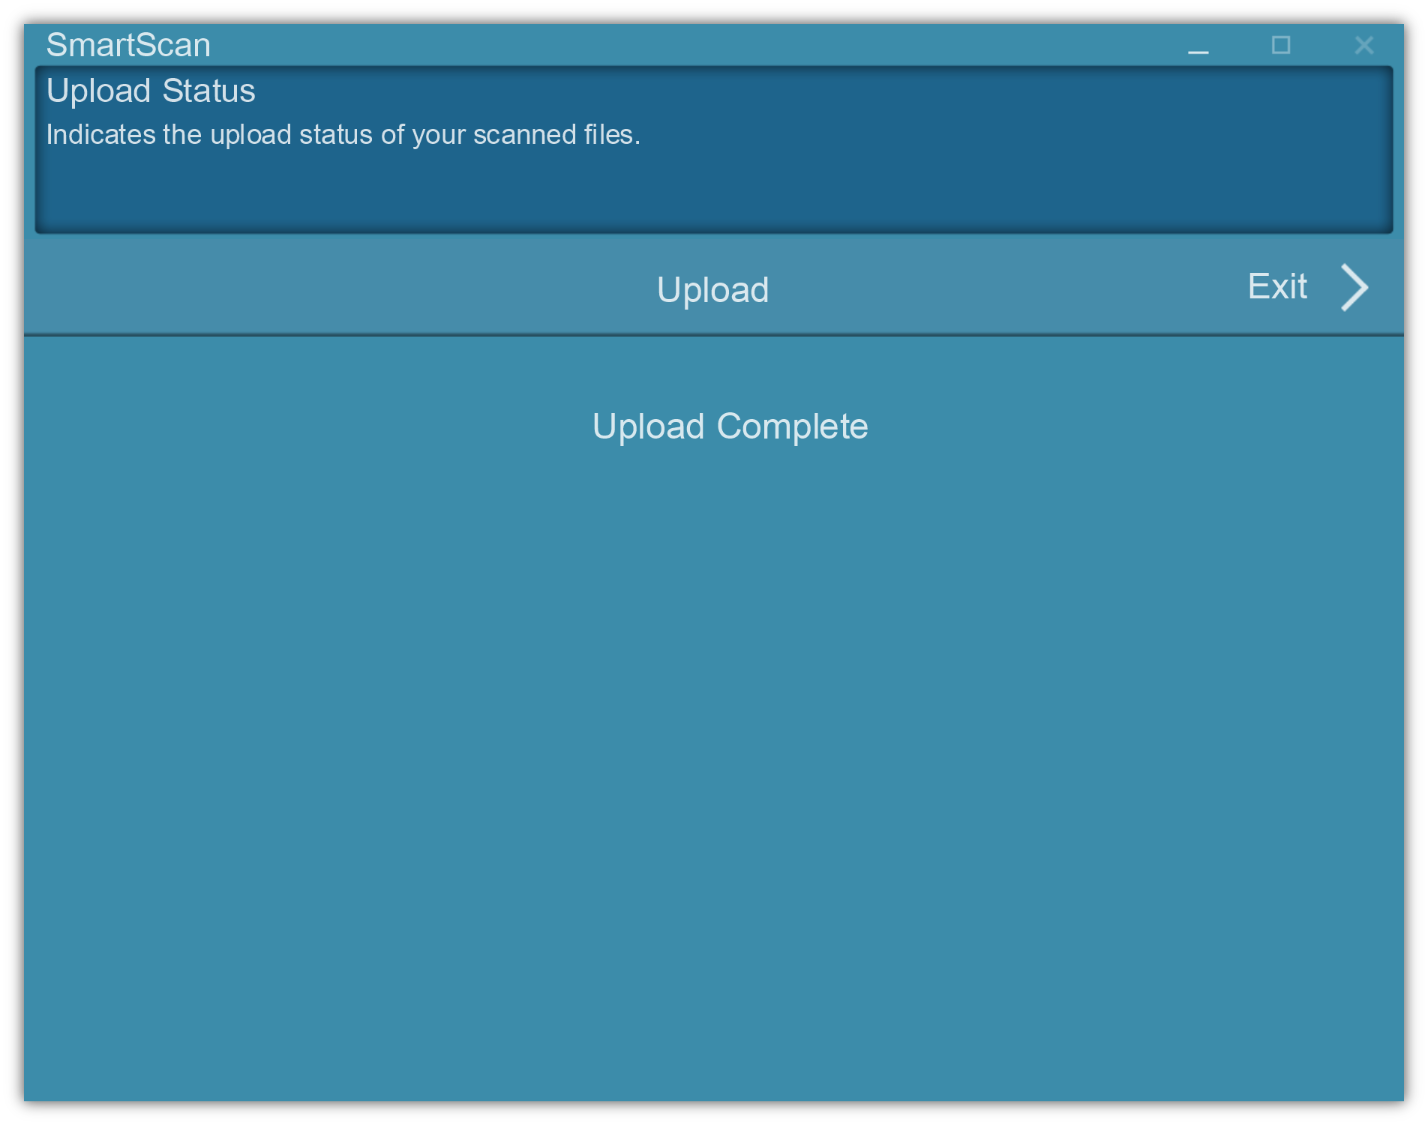
Click on Next > to continue upload data. Once upload completes, the interface will prompt message if indexing was successful and return to the main menu automatically.