The following settings can be changed: |
|
Preview |
Enable Preview and Edit Mode to review the images created from the batch of scans. User may rotate images, continue scanning, tap on the image to crop and make edits. When scanning in Multi-Page PDF/TIFF, splitting files can be done manually by tap between the scan images. |
|
File Name |
File Name for the scan documents can be preconfigure under 'File Name' interface. |
|
|

|
Each document can be named according to the predefine settings via 12 barcode types, date, time, serial number, or manually enter during the scanning process. |
|
|

|
Enable Date / Time/ Serial Number to display the date in the file name. Select the desired format of Date / Time/ Serial Number in the following dialog. Note: Please make sure there is an active internet connection before you power on the scanner. The scanner requires access to the internet to set the device date and time. |
|
|
|


|
Scan Mode |
Tap to switch between Simplex (scanning one side of the document) /Duplex (scanning both front and back side of the document). |
|
|

|
Color Mode |
Switch Color Mode in the popup dialog. Available color modes: Color, Gray and Black & White. Tap the OK button to confirm the settings and to exit this dialog. |
|
|
|
|
|
|

|
Image Resolution |
Image Resolution is measured in pixels-per-inch, dpi, refers to resolution. The higher resolutions result in more detail in the scan and greater file sizes. Select the desired QUALITY in the popup dialog. Available dpi: 100dpi (Lower), 200dpi (Standard), 300dpi (Good), 400dpi (Better), and 600dpi (Best). |
|
|

|
Image Size |
Tap to select a suitable document size from the list for the scan task. The available document sizes are within the scanner's range of minimum and maximum item size. Select Long Paper to enable support of paper sizes up to the scanner maximum (200"). |
|
|

Format |
Select the file saving format in the popup dialog. Available file formats: JPG, PDF, TIFF, PNG, Multi-Page PDF and Multi-Page TIFF. |
Tap the Save button to confirm the settings or tap Cancel to exit this dialog. |
|
|

|
Enable PDF/A function to preserve the static visual appearance of electronic documents over time, which are self-contained, self-describing, and more device-independent. To ensure that the digital PDF documents remain readable and accessible for long-term. |
|
|

|
Enable Searchable PDF function to perform OCR (optical character recognition) for the text within the scanned document function by Plustek OCR by selecting the language to turn computer readable and editable text. *This function may or may not be available depending on the scanner model you purchase. |
|
|
|
|
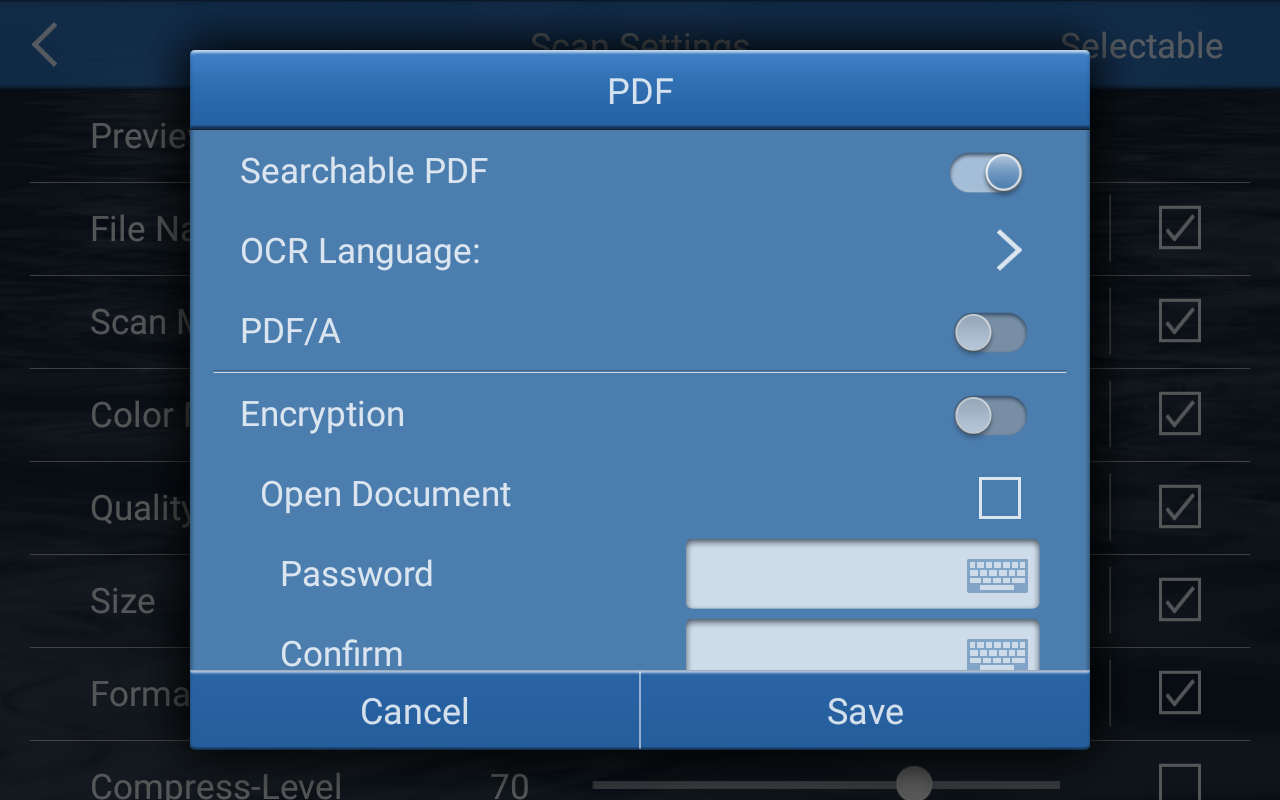

For extra protection, enable 'Encryption' can be configure on the same interface as well. |
Providing optional features to View/ Allow Print/ Edit/ or Copy of the scanned document. |
|
|

|
Compress-Level |
The lower the compression rate, the higher quality of the scan, resulting to a larger file. Move the Compression quality slider left (low) or right (high) to adjust. |
|
Brightness |
Brightness is the overall lightness of the image. Move the slider left or right to darken or lighten the image. Adjusting the brightness level adjusts the tone of the pixels, without changing the true color of the pixels. |
|
Contrast |
Contrast refers to the differences between the light and dark portions in the image. Move the slider left or right to decrease or increase the contrast levels. Increasing the contrast level emphasizes the difference between the lighter and darker portions of the image, decreasing the contrast de-emphasizes that difference. |
|
|

|
Watermark |
Enable the use of Watermark to add a visible mark on the scan documents. The network scanner allows Text or Image/Picture configuration for such function. Select Use Picture to upload a desired image. |
Please note, when using Image file for your watermark overlay, we strongly recommend that the image be no bigger than 800x800 pixels. [Recommend size and format: 600x200 pixels; PNG] |
|
|

|
Tap on Position to select the desired position. There are 9 positions to choose from. Select Use Text as the Watermark, enter the desired text, adjust the desired position, and adjust the Transparency, Text Size and Text Angle from the slider. |
|
|

|
Note: When scanning Black & White we strongly recommend the transparency setting to be set at 150%. Color of the image overlay will correspond to your scanning color mode. Please adjust transparency of the image accordingly. |
|
Autorotate |
When enabled, scan images are automatically adjusted by rotating in the direction based on the text orientation. |
|
Note: The orientation of the scanned image is determined by the character strings and text orientation printed on the document. Scanned images for the following types of documents may not perform correctly, it is highly suggested to sort the scan batch for higher efficiency and accurancy. |
Manual rotation can be perform during 'Preview' by clicking on the |
|
• |
Scan images with many extremely large or small characters |
• |
Scan images on which pitches between lines or characters are extremely narrow, or characters are overlapped |
• |
Scan images with many characters contacting underlines or borders |
• |
Scan images with many images (such as photographs and figures) and few characters |
• |
Scan images with characters on an unevenly colored background (e.g. shaded characters) |
• |
Scan images with many decorated characters (e.g. embossed and/or outlined) |
• |
Scan images with characters on a patterned background (e.g. overlapping with illustration and diagrams) |
• |
Scan images with characters printed in various directions such as drawings |
• |
Scan images written using only capital letters |
• |
Scan images including handwritten characters |
• |
Scan images not written in the supporting languages list |
• |
Scan images with complex layouts |
• |
Scan images with a large amount of image noise |
• |
Scan images with faint characters |
• |
Scan images with faded characters |
|
Split PDF/TIFF |
Output file in Multi-PDF/Multi-TIFF can be split (divided) by enabling one of the following methods: |
|
|
o By detecting the barcode on the scan documents |
o Filters are available to include or exclude the specific barcodes |
|
|
o By inserting a blank page in between the batch of scans |
o Every blank page scanned, the scanner will automatically filed it as a separate document. |
|
|
o By specifying a number, the scans will be split into a different file with the determined number. |
o Adjust the number to the right or left using the slider. |
|
This feature allows a scanning task be divided into multiple documents without stopping the scanning process. |
|
|

|
Punch Hole Removal |
Enable this feature to remove punch holes in the margins. This option will fill these holes with the detected background color in the final scan. |
|
Blank Page Removal |
Switch on this function to remove blank pages after the document is scanned. Adjust the Sensitivity level left or right from the slider. The higher the sensitivity, the more scanned pages will be treated as blank pages and removed. |
|
Fill Edges |
Enable Fill Edges (aka, edge filler), to automatically fill the shadow or streaks around the edge of the scanned image. Depending on the condition of the documents, dark/black edges might occur during the scan. Adjust the filled in area by moving the slider right or left. |
Note: If the specify fill in area is too wide, partial characters on the document near the edges may not be visible. |
|
|

|
Merge/Split |
When scanning in duplex mode, you can enable this option to have both sides of a scanned item Merge and appear on one page in the final image file. The options in the list allow you to select where you want the front side image to appear in relation to the back side image in the final file. |
|
|

|
When scanning in simplex mode, you can enable this option to have the scanned document Split in half or multiple (Custom Split) and appear on one page in the final image file. The options in the list allow you to select where you want the front side image to appear in relation to the back side image in the final file. |
|
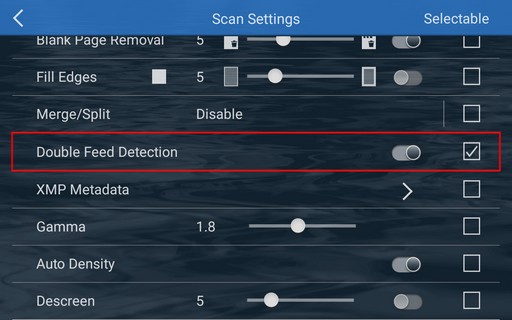
Double Feed Detection |
Enable Double Feed Detection, allows the scanner to automatically stop when it detects multiple documents have been fed through the scanning passage at the same time. User can continue scanning after resorting the documents or save the pages that have already been digitalized. |
|
|
|
|

|
XMP Metadata |
Enable XMP Metadata, aka Extensible Metadata Platform, allows user to embedded metadata properties with the document files. It provides additional information about the file such as: Title, Category, Subcategories, Descriptions, User, Date, Location, and Sub-location. |
Preconfigure the fields, or mark it 'Selectable' to enable fill-in during each scanning process. |
|
|

|
Gamma |
Gamma is the tone curve and starting point for image enhancement. Move the slider left or right to darken or lighten the image. As the gamma value is adjusted lower, the tone curve begins to straighten and the shadows of the image are expanded, darkening the shadows without overall darkening the image with gray as seen with lowering the brightness level. As the gamma value is adjusted higher, the tone curve bends and the highlights of the image are expanded, lightening the highlights without overall lightening the image with white as seen with raising the brightness level. |
|
|

|
Auto Density |
Enable Auto Density, allows the network scanner to automatically adjust the image density to the optimal that best suited to the quality of the original. Dark texture originals (such as newspaper or recycled paper) will be copied so that background will not be reproduced. |
|
Descreen |
Enable Descreen function, move the slider left or right to decrease or increase the descreen levels. Descreen applies filtering to images that contain moiré patterns (or herringbone). A moiré pattern is created from scanning pictures in magazines, or printed material that use color dithering. |
|
|

|
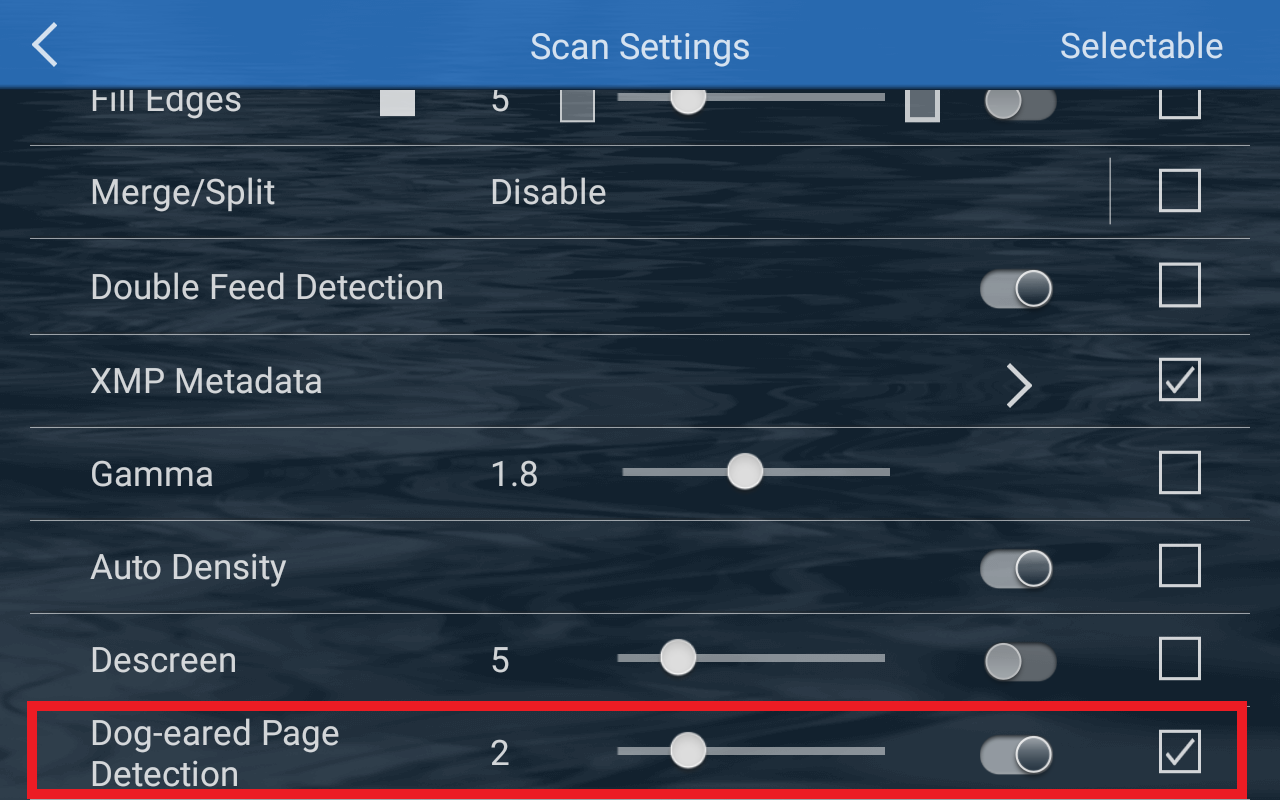
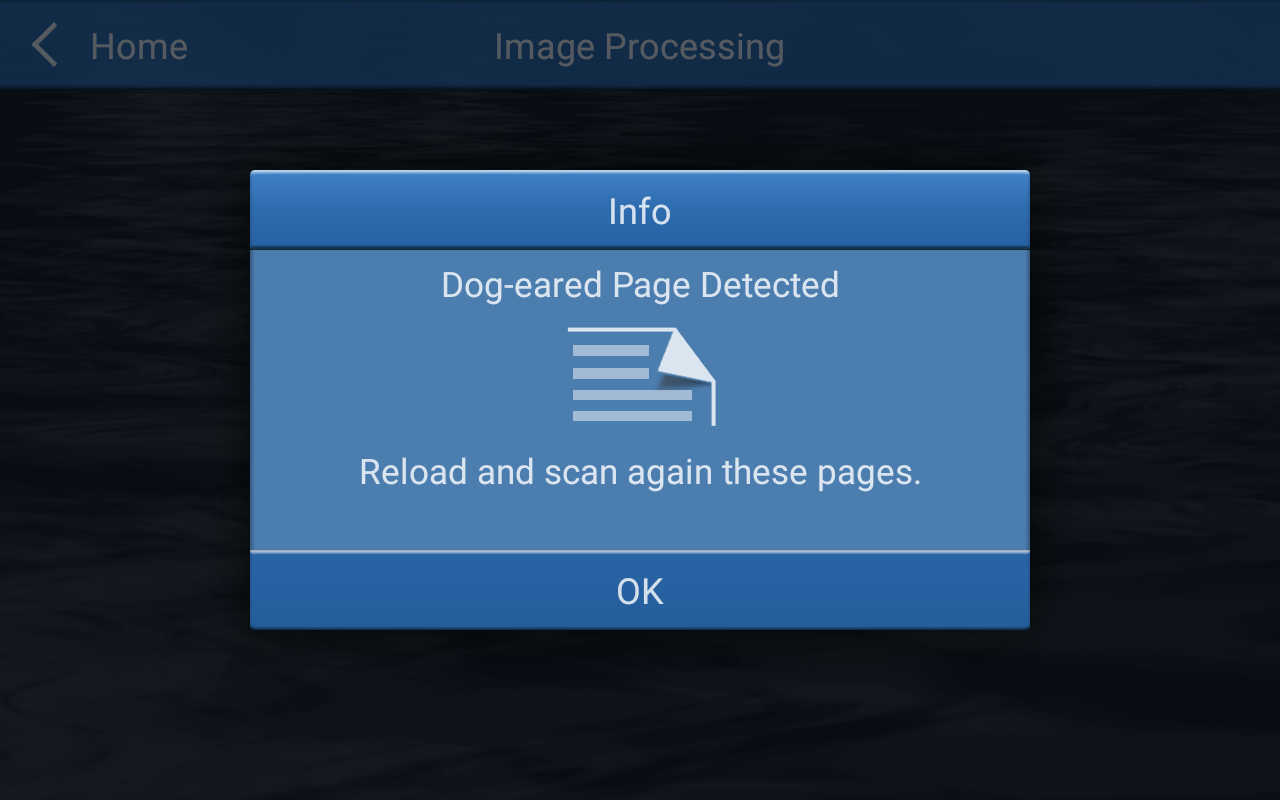
Dog-eared Page Detection |
Enable Dog-eared Page Detection, allows the scanner to automatically stop when it detects dog-eared documents have been fed through the scanning passage at the same time. |
|
|
|
|
|
|
|
|
|
|
|
|
|