Follow the steps described below: |
1. |
Place the sample document onto the scanner. |
2. |
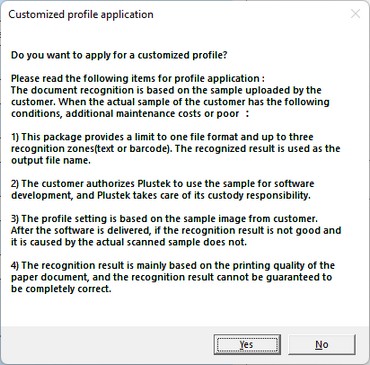
Double-click Custom naming profile button on Scan Button Profile, the Customized profile application dialog popups. Please read the information thoroughly then click Yes button. |
|
3. |
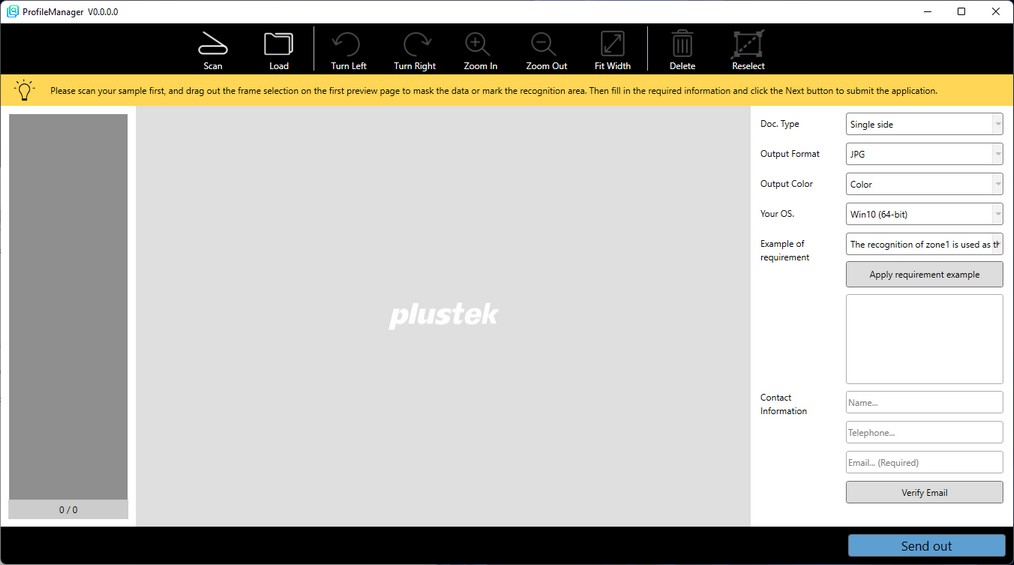
In the opening window click Scan button to scan the sample document. Or you may click Load button to import the sample document. You may use function buttons to adjust the image if necessary. |
|
|
|||||||||||||||||
4. |
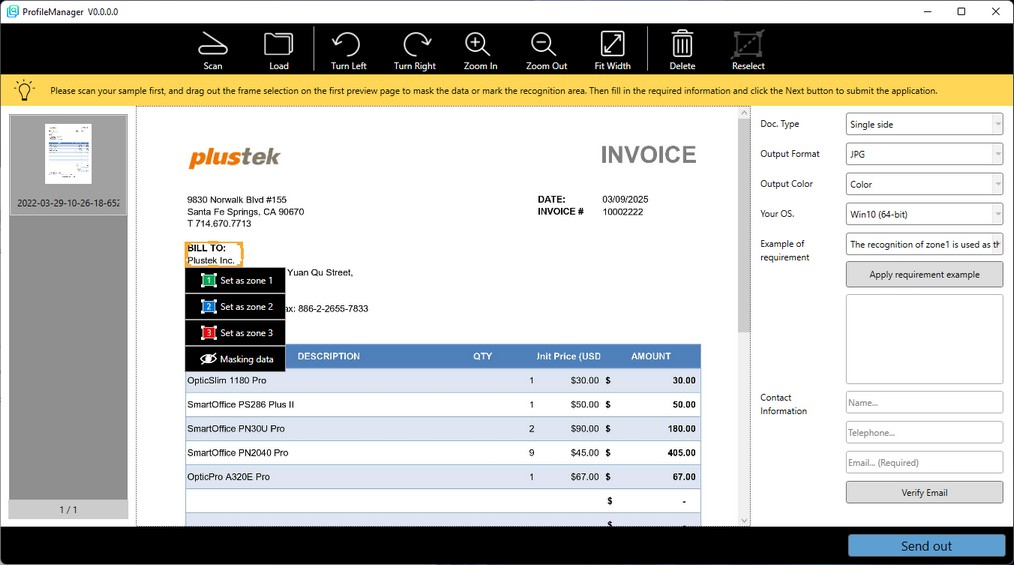
Drag and drop a rectangle on the image to select the recognition or masking area, you may set up to 3 recognition areas. Note: You can only set desired areas on the first page. |
|
5. |
After completing the settings, please select Doc. Type, Output Format, Output Color, Your OS., and Example of requirement, fill in the Contact Information, then click Send out button. |


